Tuesday, November 28, 2017

Inspired By All The Little Things #74

Today's card is for the Inspired by All The Little Things Challenge. I wanted to create a card that was less fussy and more graphic feeling to fit in with the challenge. I like this sort of card for sending to some of the men in my life in particular, although I know some women who have a definite preference for clean graphics as well. I never feel like I do a very good impression of shabby chic but I do try once in a while.  Some people (Melissa Phillips comes to mind) can do that look so very well and I'm always inspired by the use of so many colors, layers and textures.

There are a lot of fun challenges going on right now for the holiday season and I am having a lot of fun playing in as many of them as I possibly can. But, as you know, I like to give you some general tips and guidelines for how I created my card.

I started by choosing a wood grain paper for my large star.  It's okay to change the shape of that element, but I didn't need to. I have several sheets of this and if you don't like the color it comes in, you can change it up easily by coloring over the top with a Copic Marker.  In this case I used a Black (100) Copic Marker to deepen the color.  It doesn't show up that well in the photos, but you can easily see the wood grain pattern when looking at the card in person.  I also created a card base from Soft Stone Cardstock.  I wanted a slight pattern for the main background panel and I chose this repeating text background paper.  It's hard to tell in the photo, but the text is done in green on a pale ivory paper.  To highlight that green, I also created a narrow mat behind it from Pinefeather Cardstock.

My wood grain paper is a text weight paper so in order to make it a somewhat more substantial weight, I cut three stars from True Black Cardstock and glued them one of top of the other.  I used my powder tool on the wood grain star and placed the negative into my MISTI to hold the positive in place in case I needed to stamp it again (which I did). I stamped the Merry & Bright sentiment from the Gina K Designs Merry & Bright Stamp TV Kit in Versamark and heat set it with my favorite Simon Says Stamp Antique Gold Embossing Powder, twice. I love this technique so much!  It makes such a difference in how bold your sentiment is. I did a light mist of Tsukineko Sheer Shimmer Spritz over just the star and when it was dry I adhered it with some Scotch 3D Foam Tape to my card front.  For the lower part of the greeting, I die cut the "holiday" word from Gold Foil Cardstock, and the "Greetings" banner from Concord & 9th's Season of Cheer Die.  All together, the sentiment says "Merry & Bright Holiday Greetings".  It's festive yet crisp and graphic.


Most of my Christmas Cards have already been sent out but I will still do a few more for things as they come up. There's always a few I don't think of when doing my initial list.

Thank you so much for stopping by today to see my project.  For your convenience, the supplies I've used are linked below.

Simon Says Stamp Antique Gold Embossing Powder
Shop at:
SSS
Kokuyo Long Dot Runner Adhesive
Shop at:
SSS
Gina K Designs Stamp TV Kit - Merry & Bright
Shop at:
GKD
Versamark Ink
Versamark Ink
Shop at:
PTI | SSS
Concord & 9th Season of Cheer Dies
Shop at:
SSS | C+9
Cuttlebug Die Cutting Machine
Shop at:
SSS
Papertrey Ink Pinefeather Cardstock
Shop at:
PTI
Papertrey Ink Soft Stone Cardstock
Shop at:
PTI
Papertrey Ink True Black Cardstock
Shop at:
PTI

Saturday, November 25, 2017

Papertrey Ink November 2017 Blog Hop

It's the 25th of the Month which means that it is time for the Papertrey November 2017 Blog Hop.  This is my second post for today so if you are looking for the Simply Sweet Inspiration Hop, it's the next post.

I really struggle to take accurate pictures of anything with yellow in it and this was no exception. This is some of that special paper that I've used before, albeit very sparingly.  However, once I saw Nichole's Inspiration Image, I knew I didn't have anything else as perfect as this plaid, and so I used it.  I have just 2 full 12 x 12 sheets of this plaid left now.  That means I should be able to get at least 8 and probably 12 more cards before I am completely out of this paper forever.  It is a very old Sandylion paper from back in my scrapbooking days and I have carefully hoarded it to make it last this long.

Nichole always finds the most beautiful inspiration photos to inspire us and also mentioned that it would be a great time to have one last hurrah with some of our favorite autumnal products.  This card uses one from last year and one from this year as well.

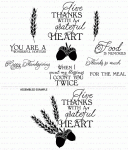
Give Thanks is a favorite set of mine designed by Dawn McVey.  I love the wheat stalks in it, particularly since I am from Kansas (the largest producer of wheat in the world) and it always makes me think of the family farm back home.  In this case, I just wanted to use one of the sentiments from the set.

For my card base, I started with a top folding card made from Kraft Cardstock and worked my way up through the layers.  The very bottom layer of the mat is cut from Sun Shimmer Cardstock, and then a slightly smaller rectangle of the plaid paper was put on top.  I wanted to use a label or banner for my sentiment and this one is always on my desk. I had just one panel of Gold Shimmer Cardstock (another treat from my friend Cindy O.) and I wanted to use that little bit lighter shade. It's an oldie Spellbinders Die that I got a GASC more than a decade ago.  The cool thing about it is that it embosses also.

Because my RA and Fibro have been giving me so much difficulty lately, especially with intricate dies, I gave in and ordered a Gemini Electric Die Cutting Machine which arrived yesterday afternoon. I really wanted to see if this machine would do anything at all with dry embossing because the embossing pad is so very thin that you wouldn't think it would work at all.  HOLY COW!  The embossing is so impressive and about ten times better than I could ever get with an embossing mat in my hand crank die cutting machine.  I was impressed!  You can find more information about the Gemini on the Crafter's Companion Website, HSN, or Blitzy.com as well as others I'm sure.  The Gemini Junior is pretty hard to find right now.  They were only available at Crafter's Companion and HSN before, but I wanted to be able to cut a full sheet if I wanted and I have a dedicated space for my studio, so smaller and more compact was not important to me. I have my little red sidekick and the new thicker cutting pads for it sitting on my desk for small dies.

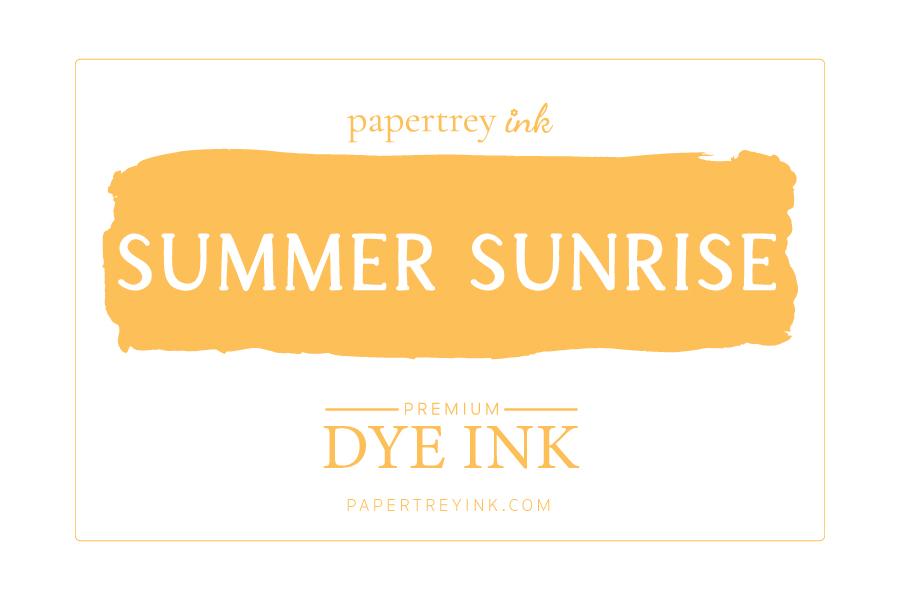
Some of the embossing detail was there just from the die cutting sandwich but when I ran it through with the embossing sandwich, I was floored at how well it worked!  After that, I took some Summer Sunrise Ink and an inexpensive cosmetic brush using it like a stencil brush, and inked all around the edges of the label. I dried it just a bit with my heat tool to make sure the ink was dry and then prepped my surface with my powder tool to get ready to heat emboss it.  I stamped the sentiment in Versamark and heat set it with Simon Says Stamp Antique Gold Embossing Powder, then stamped it again and heat it again with another layer of embossing powder.  This has become my preferred way of Heat Embossing with at least two layers of embossing powder and sometimes 3 or 4.  This particular card was done with two but I kind of wish I had done one more.


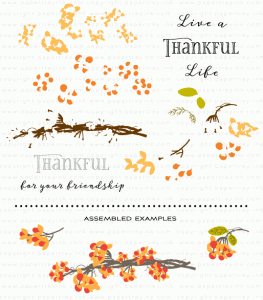
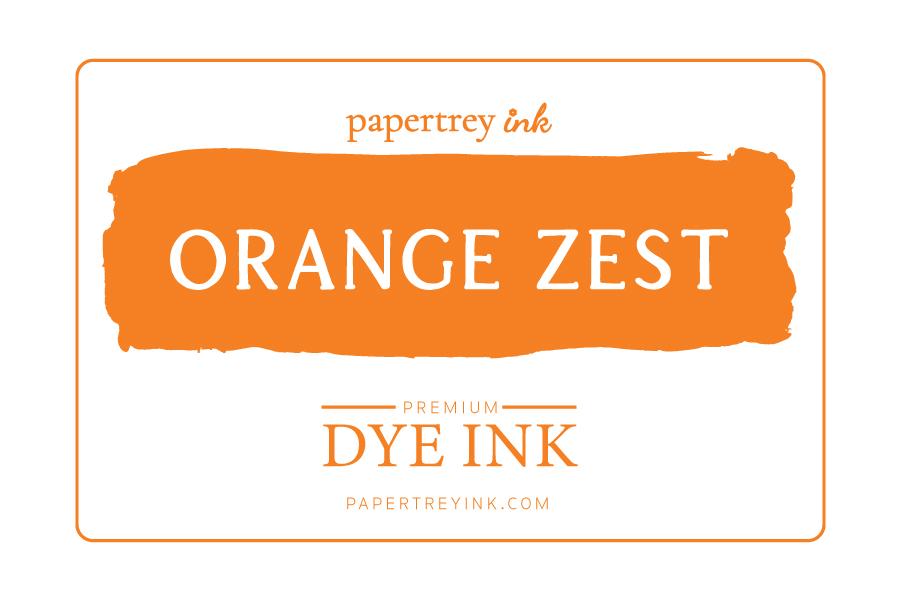
For the final element, I die cut the large branch from the Beautiful Berries: Autumn out of the scrap of Gold Shimmer Cardstock and then stamped it out using Dark Chocolate for the branch, and Melon Berry and Orange Zest for the Bittersweet Berries. I thought it would look strange if I did the die cuts from White or Cream Cardstock and the Gold Shimmer Cardstock took the ink very well.  Just as I was finishing this card, I decided it needed some Nuvo Crystal Drops in Copper Penny for the finishing touch.

Thank you so much for stopping by today.  Be sure to go over to Nichole Heady's Blog to see all the projects from today's hop!

While I made this card for the Papertrey Blog Hop, it will work very well for this week's Color Throwdown Challenge #470 as well!

Simon Says Stamp Antique Gold Embossing Powder
Shop at:
SSS
Kokuyo Long Dot Runner Adhesive
Shop at:
SSS
Simon Says Stamp Stitched Rectangles Dies
Shop at:
SSS
WPLUS9 Gift Card Layers Designer Dies
Shop at:
SSS
Versamark Ink
Versamark Ink
Shop at:
PTI | SSS
Wagner Heat Tool
Wagner Heat Tool
Shop at:
SSS
Cuttlebug Die Cutting Machine
Shop at:
SSS
Papertrey Ink Kraft Cardstock
Shop at:
PTI
Papertrey Ink Gold Shimmer Cardstock
Shop at:
PTI
Tonic Nuvo Crystal Drops - Copper Penny
Shop at:
SSS
Give Thanks Stamp Set
Shop at:
PTI
Beautiful Berries: Autumn
Shop at:
PTI
Beautiful Berries: Autumn Dies
Shop at:
PTI
Perfect Match Summer Sunrise
Shop at:
PTI
Perfect Match Melon Berry
Shop at:
PTI
Perfect Match Orange Zest
Shop at:
PTI
Perfect Match Dark Chocolate
Shop at:
PTI

The Challenge Simply Sweet Christmas Inspiration Hop


Hello!  I've got a special treat for you today!  All of the ladies and a few friends from The Challenge Blog Design Team are doing a blog hop today over on Lesley's Blog, Always Playing With Paper, where we focus on last minute cards or tags for the Holiday Season.  Here's the rest of the line up for you:

Rachel Bergfeld
Vicki Finger (You are here)

I have a fun, but beautiful card design for you today featuring Papertrey Ink's Silver White Winters Stamps and Dies. This has been one of my favorite designs this year. 

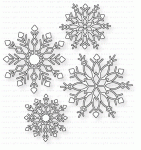
As a card maker, one of the things I do is to cut extras of something that I know I am likely to use more of on another card. In this case, when I made the original card in Silver and Dark Blue, I knew that I would use more of these beautiful snowflakes if I got the chance so I cut extras.  They are a set of four dies with two styles, one large and one small.  They could be used to pull together a quick card or tag anytime.  Is there anyone, anywhere who doesn't think snowflakes are beautiful?  I don't know anyone who doesn't like to look at them.  I even appreciate a good snowfall every year although that may be because I live in an area that doesn't get too many annual storms. We usually get one big snowfall and we've been lucky that mostly those have occurred on the weekends when we are at home.  So, I think snowflakes are always a good choice for a quick card or tag. 

Another little trick I've learned is that when I need a quick anything, I try to let my background paper or cardstock do a whole lot of the talking for me.  In this case, I used this gold foiled music paper for my card front making it so I didn't even have to do any stamping to pull this quick card together.  I had previously stamped some additional banners when I was working on another project so I had them ready to go. I figure that if I already have the MISTI set up, I might as well do a few extras "just in case".  You can put the extras in a little zipper bag to keep similar styles of things together. The dies I get from Papertrey Ink come in heavy zipper bags and I have a tendency to keep some of the smaller ones for just such an occasion.  At certain times of the years, I have several of those little bags of goodies sitting on my desk, ready to go.  I always have cardstock cut and ready to go for Top Folding Vertical or Horizontal Card (I take mine to an office supply place to have it cut).  

Even when it is not the holiday season, I always have bits and pieces left from cards that can be pulled into a quick card or tag. So when you cut a few for a specific card, go ahead and cut a few more and tuck them away.  

Specialty Cardstock is another good choice if you are in a hurry and one of my favorites is Shimmer Cardstock.  You can put your own card kits together by doing just one of these things every time you have a few minutes.  It can be overwhelming to create a pile of cards; not only to do it, but to find the time in a busy schedule.  There's always something that needs our attention as wives and mothers but if you can have 5 minutes to do some die cutting, then 10 minutes the next day to stamp some sentiment banners or strips (I used a banner from Keep It Simple Frames here), then five more minutes on a third occasion to cut 4.25 x 5.5 inch card background panels, pretty soon you'll have the makings for several last minute cards.  I love adding special touches to my cards as well, like the little jewels you see in the center of my snowflakes.  I don't want those to fall off so I use Ranger Multi Medium Matte to adhere them.  Once I have the jewel placed, I set an acrylic block on top for a few minutes while I glue the next card in the pile. You can see how that can all add up to a stash of "just in case" cards.  Don't become obsessed with making sure they are all exactly the same; it's the handmade touch that makes them special.

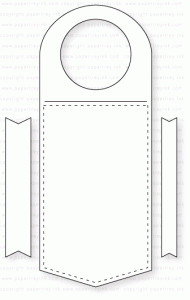
You can also do the same for some last minute gift tags.  Tags can be found almost anywhere if you don't have a tag die of some kind and they can be handy for a last minute gift tag any time of year.  Dollar Tree will often have some in the gift wrap area and you can personalize them with just a few little holiday die cuts.  Holly always seem festive to me with the red and green or you can use something in a less traditional but more elegant style and color palette like the Wine Bottle Tag I made here.

Keep your sentiments simple and more generic so that it will work for whatever you need.  A sentiment such as Merry & Bright Works for pretty much any holiday theme.  

I hope I was able to give you some ideas today for those last minute cards and tags you may need.  With just a few minutes of prep work, you can have a great looking card in minutes.  If you'd like to see larger images, click on them to go to a bigger version.

Thank you so much for stopping by today and I hope you have a great time going around the hop to see all of the projects and inspiration.  Be sure to come back here later though because I'm also participating in the Papertrey Ink Blog Hop today.


Simon Says Stamp Antique Gold Embossing Powder
Shop at:
SSS
Kokuyo Long Dot Runner Adhesive
Shop at:
SSS
Papertrey Ink Hawaiian Shores Cardstock
Shop at:
PTI
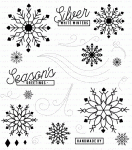
Silver White Winters Stamp Set
Shop at:
PTI
Silver White Winters Dies
Shop at:
PTI
WPLUS9 Gift Card Layers Designer Dies
Shop at:
SSS
Papertrey Ink Keep it Simple Frames
Shop at:
PTI
Versamark Ink
Versamark Ink
Shop at:
PTI | SSS
Wagner Heat Tool
Wagner Heat Tool
Shop at:
SSS
Cuttlebug Die Cutting Machine
Shop at:
SSS
Papertrey Ink Gold Shimmer Cardstock
Shop at:
PTI
Papertrey Ink Wine Bottle Tag II
Shop at:
PTI
Spellbinders Holly Jolly Dies
Shop at:
SSS